 Fall is beautiful time to celebrate the colors of nature and the familiar, warming sights of the season through art. Chalk pastel is a simple and charming art medium for children. It behaves and feels almost like sidewalk chalk, but instead of large, cumbersome chunks of sidewalk chalk, chalk pastel sets come with narrow sticks for more precise detailing. The colors are easily blended which allows for easy color mixing and can create a smooth, almost airbrushed effect. Save these ideas for chalk pastel art projects you can do at home with your child this fall.
For more about what Intrinsic Scholars has to offer, book a tour today.
What Kind of Chalk?
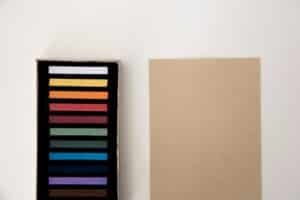
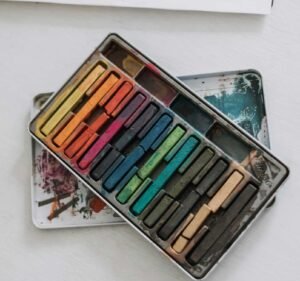
Almost any brand of chalk pastel, also called “soft pastel,” is suitable for children of young ages. Even large sets are relatively inexpensive. But remember that it is not necessary to have “every color” since you can easily blend the colors to create the desired shade. You can find sets suitable for young children for around five dollars.
How to Use Chalk Pastels
1. Paper
Opt for using paper with “tooth” (slight texture) instead of smooth or glossy paper. The chalk will not adhere to glossy paper. Paper with a neutral tone (instead of pure white) adds some depth to the finished picture. You can buy paper made specifically for chalk pastels, but for young children, construction paper also works.
2. Holding the Pastel
Your child will likely default to using only the tip of the pastel stick, like he would hold a crayon. Remind him that he can use the sides as well to cover more surface area smoothly. If you would like to cover a larger surface area, like the background of your picture, use the side of the stick to lightly apply an even layer of chalk to the area and then blend or rub it into the paper with your finger.
3. Blending
Chalk pastels are made for blending. This is where the magic happens! Blend colors together to create new shades, or blend larger areas to create even coverage. You can blend with your fingers (and may need to wash or clean your hands on a wet towel throughout) or you can use q-tips. In our experience, fingers work best.
4. Finishing
Chalk pastel can get a little dusty. Be careful handling the artwork when it is finished since it may smudge. A fixative such as Krylon’s Workable Fixative will help protect the finished artwork from smudging and prevent some amount of “off-dusting.” For a budget option, just use hairspray to achieve the same effect. Be careful to not hold the fixative (or the hairspray) too close to the picture at first, otherwise the spray may leave a concentrated dark stain on the finished picture. Hold the spray at least 12 inches away for even coverage and move closer afterwards for better sealing if desired.
Project Ideas
1. Sunflowers
Kiss summer goodbye with these close up sunflowers.
2. Leaf Rubbing
Create leaf rubbing artwork by laying a leaf on paper and use the pastels to outline the leaf. Blend outwards to create a “glowing” effect.
3. Super-sized Candy Corn
Giant candy corn pictures are a simple subject for children to draw and a fun ode to the season.
4. Whimsical Fairytale Pumpkins
Start with black paper if you want it to feel like the fairy godmother scene from Cinderella. Draw an oval in the middle of the picture and do “half moon” shapes on either side of the oval to create a fairytale pumpkin. Don’t just use orange–use reds and oranges and yellows (and pinks if you want). Add twirly, loopy vines. These fairytale pumpkins are always a class favorite.
5. Nighttime Pumpkin Patch
Another pumpkin artwork idea is a small collection of pumpkins in a field at nighttime. Use black paper and vary the sizes of the pumpkins. Depending on the age of your child, you may need to draw the pumpkins for them and let your child color it in.

Take the time to bond with your child over these fall chalk pastel art ideas. Turn on some easy, relaxing music and create a picture of your own along with them. Encourage their efforts and display their work proudly.